How to faux finish a bleach look on a wood top!
- Melissa Geskie
- Jul 30, 2019
- 4 min read

Bleached wood is everywhere right now. The pale, beachy wood is so trendy! I love the look, but not the hard work that’s involved with creating a actual bleached wood surface. Or having to sand down to the bare wood surface.
Products Used For This Look as follows:

Since Virginia is hot as heck in the summer, a lot of my projects are completed inside my front hallway. This is why I love Dixie Belle paints! They have zero smell, no VOC’s and I can paint inside! This sweet little washstand was easy to move and small enough to paint in my front hall. I brought it inside and came up with a plan. Originally my plan was to stain the wood top dark espresso. The base was painted in tones of blue and shading. I tend to start a project in mind with a little plan, and it always changes as I go along.

First things first, "proper prep" aka proper preparation, is essential to creating a amazing paint finish. I have posted a very informative video here. Proper prep is basically your work done before you chalk mineral paint or paint an item. Including, vacuuming out a piece of furniture, removing hardware, filling holes, you name it. This is the time to do it right!

I used White Lightning to clean my surface. Check out the dirt. It presented as fairly clean but when the paper towels came back like this! It’s was definitely not clean. Even if you don't want to do much before you paint, you most defiantly have to clean well. Oil and residual dirt can cause strange bleed through and adherence issues no mater what paint brand you choose to use!
I lightly sanded the surface to provide the paint something to adhere to. Then wiped again to remove the dust remaining.

I wanted a calm blue base. My favorite color of blue is Vintage Duck Egg by Dixie Belle. I covered the base with two even coats of blue. After the first coat was dry I used a couple of different brushes to apply Gravel Road and highlight with Birchwood. Birchwood is a limited release color from the Flea Market Decor line of paints. The darker Gravel Road was used in the crevices to give it some aged color. Use a separate brush and blend with a misting bottle to keep the paint moveable. Blend into the Duck Egg and create the ombré effect. I used Flea Marker Decor Birchwood on the center of each cupboard door and drawer front. I used the same technique of a wet blend to pull the colors together.

Using colors in the same color family makes it easy to blend well. Adding the darker and lighter shades gives a small piece some depth and interest.
I then used the same paints to hand paint a design on the front panel. Hand painting a simple design is a easy way to dress up a piece and add some whimsical folk art feel to the washstand. Don't be afraid to try a little hand painting to keep things fresh and original! Its amazing what a little extra work can do to a piece! Search images on Pinterest to gather some ideas and tweak it to make it your own!

I was ready to work on the top of the washstand. After completing the light color base I decided that a dark Espresso would be too overwhelming. I wanted to try the light bleached out look. I've researched a bit of information on true bleaching, and it's time consuming and smelly!

The washstand is oak, and has a porous surface. I sanded lightly in the direction of the wood grain to remove any stains and bumps. I wiped back the surface until clean using the White Lightning cleaner.
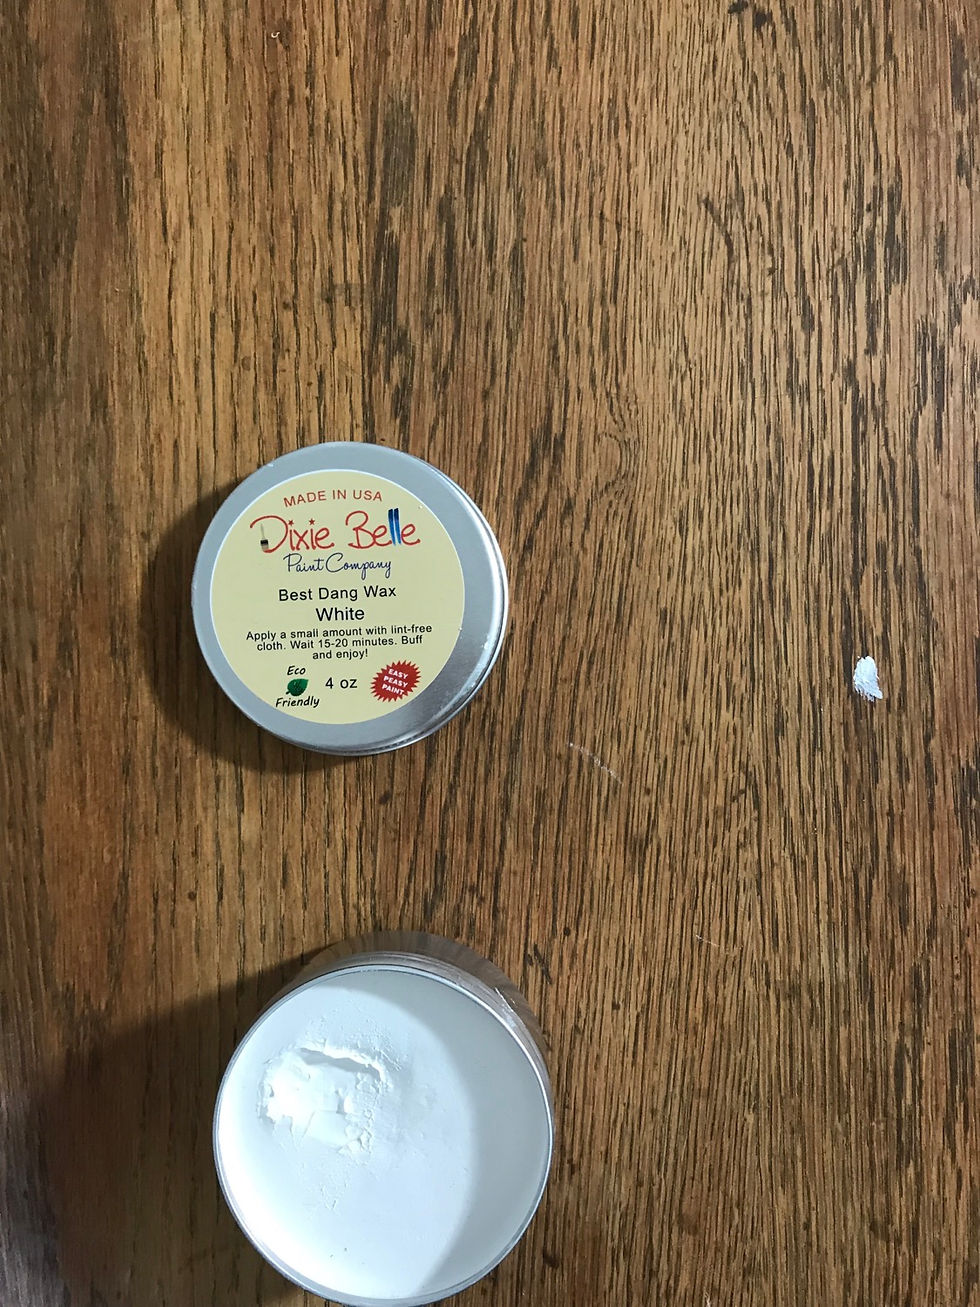
I used Dixie Belle best dang wax in white. I applied the white wax in small areas to rub it into the wood. I wanted to highlight the small holes and marks. I took a clean t-shirt like cloth and wiped back the wax in the direction of the wood grain. It looks very similar to bleached wood. No mess no fuss. Since it is wax, no need to seal the surface. I buffed well, the surface came up very smooth and shiny.

After clear waxing the base of the washstand using Best Dang Wax in Clear, I added some shine. I used a small brush to apply Warm gold gilding wax on the edges and corners of the base. This gives the depth to a piece that needs some light and warmth. It also pulls the hand painting that contains some gold together for a cohesive look. If you wanted to use the Warm Gold Gilding wax and apply with your finger, that works well too. I like to use a small brush to feather it out and blend with the clear wax surface. I always gild after the base wax has been applied.

Over all the look of this washstand was beachy and cool. It's a great size for a end table, hall table or coffee bar. I lined the drawer and inside cupboard with beachy wood paper to finish.

Want to watch a short story with video on this look? Click here!
YouTube Tutorial click here.
Love this look and want to try your own Dixie Belle Paint? Click here.


